Click Here To Watch on YouTube
Introduction
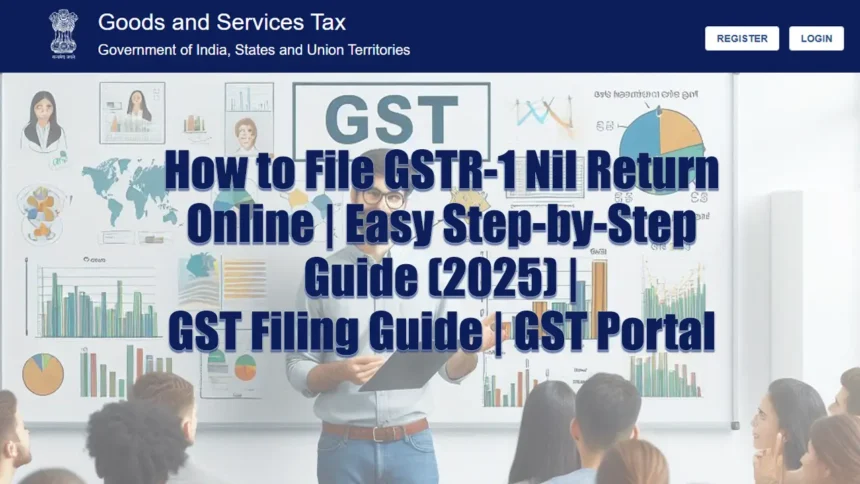
Filing a GSTR-1 Nil Return is essential for GST compliance in India, even if you had no sales or outward supplies in a tax period. Many businesses struggle with GST return filing, but this step-by-step guide simplifies the process through the official GST portal (services.gst.gov.in). Follow this tutorial to complete your GSTR-1 Nil Return filing smoothly and avoid penalties.
Prerequisites for Filing Nil GSTR-1
Before you start, ensure you have:
✔ GST Portal Login Username
✔ GST Portal Password
✔ Access to your registered mobile number & email (for EVC/OTP verification)
Step-by-Step Guide to Filing GSTR-1 Nil Return Online
Step 1: Log in to the GST Portal
1️⃣ Open your web browser (Chrome, Edge, Firefox).
2️⃣ Visit the official GST Portal login page: services.gst.gov.in.
3️⃣ Enter your GST Username & Password.
4️⃣ Type the Captcha code correctly and click ‘Login’.
📌 Tip: Always log in through the correct ‘services’ subdomain for secure GST return filing.
Step 2: Navigate to the GST Returns Dashboard
✔ After logging in, find your GST Dashboard.
✔ Scroll down & click ‘Returns Dashboard’ to start filing.
✔ Select the Financial Year, Quarter & Month of filing.
✔ Click ‘Search’ to proceed.
Step 3: Prepare GSTR-1 Nil Return Online
✔ Locate the ‘GSTR-1: Details of outward supplies’ section.
✔ Click the ‘Prepare Online’ button.
✔ Ensure all data fields (B2B, B2C, Exports) remain empty—this confirms a Nil return.
✔ Scroll down and check the ‘File Nil GSTR-1’ checkbox (if available).
📌 Tip: A Nil return means zero transactions, so no invoice details are required.
Step 4: File the GSTR-1 Nil Statement
✔ Scroll down to locate the ‘File Statement’ button.
✔ Click it to initiate the submission process.
✔ Tick the Acknowledgement checkbox to confirm your filing.
📌 Tip: Double-check all details before proceeding to avoid errors.
Step 5: Verify Filing with EVC (OTP Verification)
✔ Select the correct Authorised Signatory from the dropdown.
✔ Choose ‘File with EVC’ for OTP-based verification.
✔ Retrieve the OTP sent to your registered mobile & email.
✔ Enter the OTP & click ‘Verify’ to complete submission.
Step 6: Save the GST ARN for Future Reference
✔ After filing, you’ll receive a confirmation message.
✔ Note down the ARN (Acknowledgement Reference Number).
✔ Download the official GST Acknowledgement PDF for record-keeping.
📌 Tip: The ARN serves as proof that your return is successfully filed—keep it secure!
Conclusion
Filing a GSTR-1 Nil Return online is a crucial GST compliance requirement, ensuring businesses with zero outward supplies remain updated. By following this guide, taxpayers can submit their returns hassle-free through the GST Portal (services.gst.gov.in).
🔔 Found this guide helpful? Like, Share & Subscribe to [Tax & GST India] for more tutorials!
💬 Got questions? Drop a comment below—we’re here to help!
📢 #GSTR1 #GSTIndia #NilReturn #GSTFiling #TaxCompliance