Click Here To Watch on YouTube
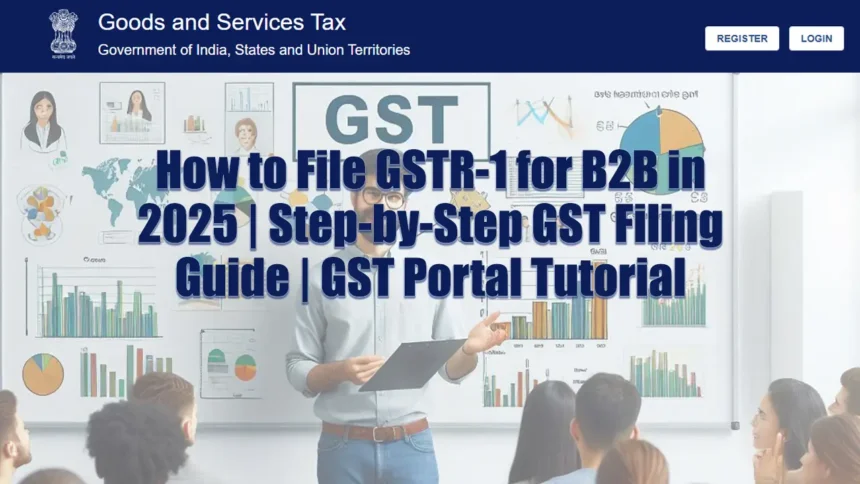
Filing your GSTR-1 for B2B transactions can seem daunting, but with this easy-to-follow guide, you’ll be able to complete the process quickly and accurately. Whether you’re a business owner, accountant, or GST professional, this step-by-step tutorial will walk you through filing your GSTR-1 for January 2025 on the GST portal.
Step 1: Log in to the GST Portal
- Open your web browser and search for “GST login” on Google.
- Click on the official GST portal link.
- Enter your username, password, and the captcha code, then click “Login.”
Step 2: Navigate to the Returns Dashboard
- On the GST portal’s Welcome dashboard, scroll down and select “Returns Dashboard.”
- Choose the financial year, quarter, and select the period – in this case, January 2025.
- Click “Search.”
Step 3: Prepare GSTR-1 Online
- Scroll down to the “Details of Outward Supplies of Goods and Services (GSTR-1)” section.
- Click “Prepare Online.”
Step 4: Enter B2B Invoice Details
- Select the “B2B Invoices” section and click “Add Record.”
- Enter the following details:
- Recipient’s GSTIN
- Recipient Name
- Invoice Number
- Invoice Date
- Total Invoice Value (e.g., ₹168)
- Select the Place of Supply (POS) and choose the correct state.
- Enter the taxable value (value before GST). For example, if the taxable value is ₹138 with an 18% GST rate, the system will automatically calculate CGST, SGST, or IGST.
- Click “Save.” You’ll see a confirmation message.
Step 5: Generate and Verify Summary
- If you have more sales details to add, repeat the process. Otherwise, scroll down and click “Back.”
- Click “Generate Summary.” You’ll receive a message confirming that your request has been received. Wait for a minute for the summary to generate.
Step 6: File Your GSTR-1
- Scroll to the top and select “Returns.”
- Choose the financial year, quarter, and period, then click “Search.”
- Scroll down to the “Details of Outward Supplies of Goods and Services (GSTR-1)” section and click “Prepare Online.”
- Click “Proceed to File and Summary.” Carefully review the consolidated summary.
- Scroll down and click “File Statement.”
- Agree to the declaration by checking the box and select the authorized signatory from the dropdown menu.
- Choose “File with EVC.” You’ll receive an OTP on your registered mobile number or email.
- Enter the OTP and click “Verify.”
Step 7: Download Your ARN
- Once filed, you’ll receive an Acknowledgement Reference Number (ARN).
- Download and save the ARN for your records as proof of successful filing.
Pro Tips for Accurate GSTR-1 Filing
- Double-check all invoice details, including GSTIN, invoice numbers, and taxable values.
- Ensure the correct Place of Supply (POS) is selected to avoid errors in CGST, SGST, or IGST calculations.
- Save your ARN and acknowledgment for future reference.
Need More Help?
If you have any questions or need further assistance, feel free to leave a comment below or visit our blog, Smart Study Blog, for more detailed articles and resources on GST and tax-related topics.
Why This Guide Matters
Filing your GSTR-1 accurately and on time is crucial for maintaining GST compliance and avoiding penalties. This guide simplifies the process, making it easy for businesses and professionals to stay on top of their GST filings.
Tags: #GSTR1 #GSTFiling #B2BGST #GSTPortal #GST2025 #TaxTutorial #GSTReturns #GSTIndia #TaxFiling #GSTGuide #BusinessTax #GSTTips #GSTCompliance #GSTTutorial #Taxation


